MAIBAHE GRAIN JOURNAL
How to Cook Oatmeal: Liquid Ratios and Fixes for a Creamy Bowl | MAIBAHE
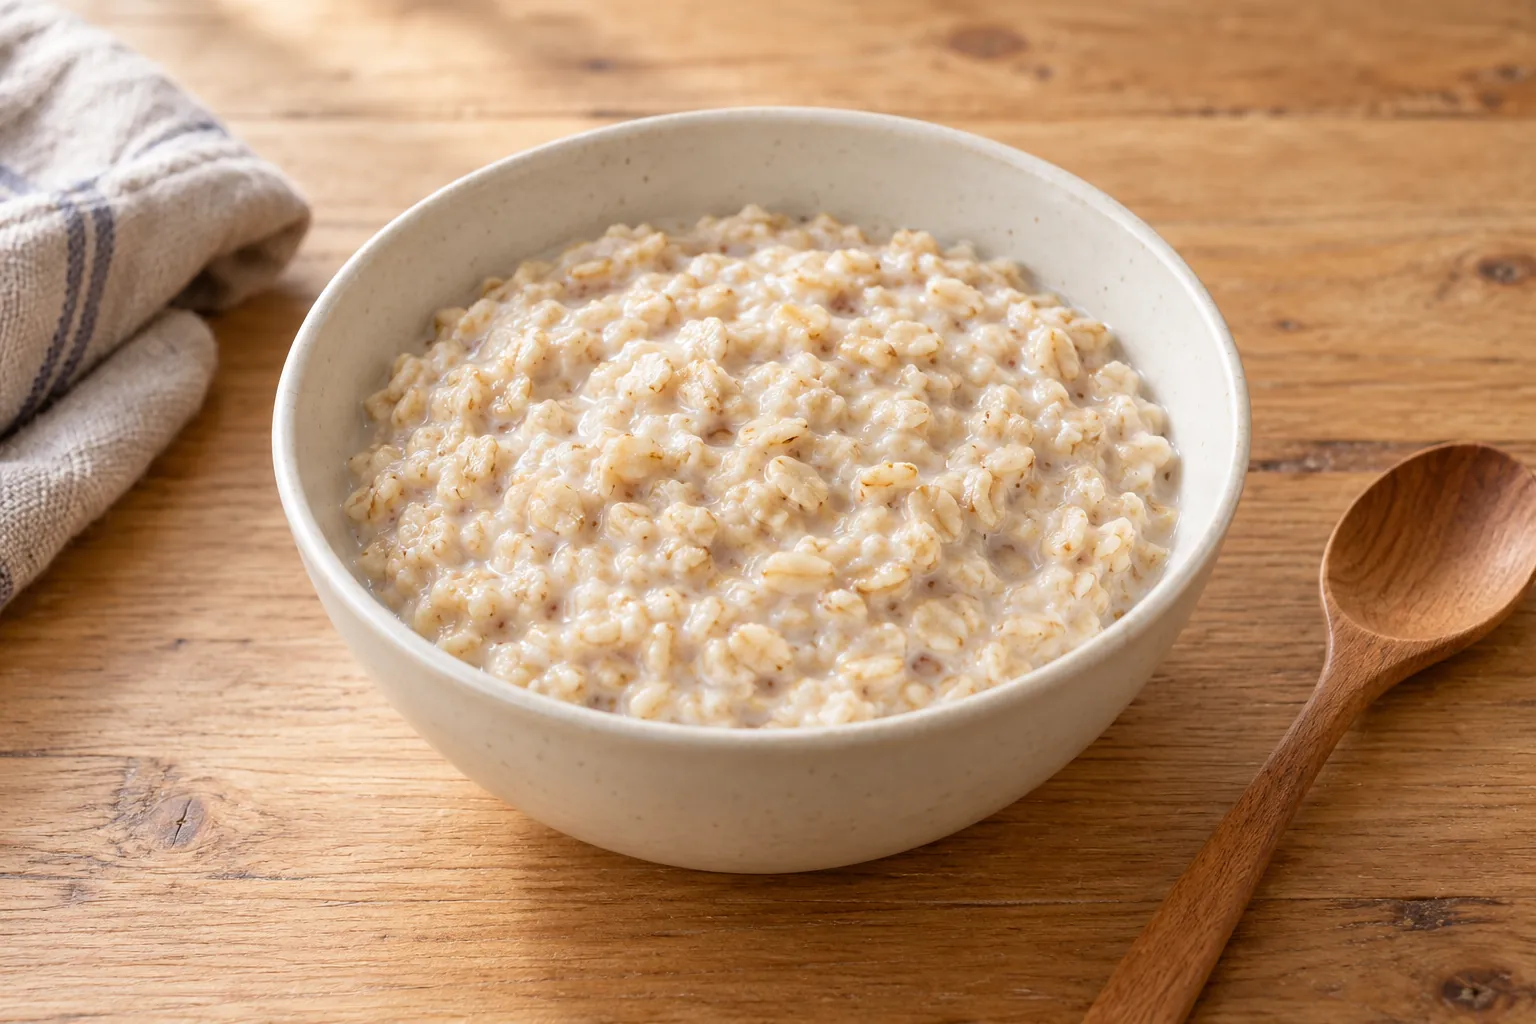
Knowing how to cook oatmeal starts with identifying the oats: rolled flakes, quick oats, steel-cut pieces and whole oat groats need different preparation. Follow the directions for your actual product, control the heat, and check tenderness before adjusting the thickness. An oat-based porridge blend may also contain other grains, so a method for plain rolled oats should not automatically be applied to the entire blend.
This guide explains how to cook oatmeal for a creamy breakfast or a savoury bowl, without treating every oat product as interchangeable. You will find a practical cooking sequence, a texture checklist and answers to common questions about water, toppings and reheating. For a MAIBAHE pouch, use its current ingredient label and cooking instructions as the product-specific reference.
How to cook oatmeal begins with the oat type
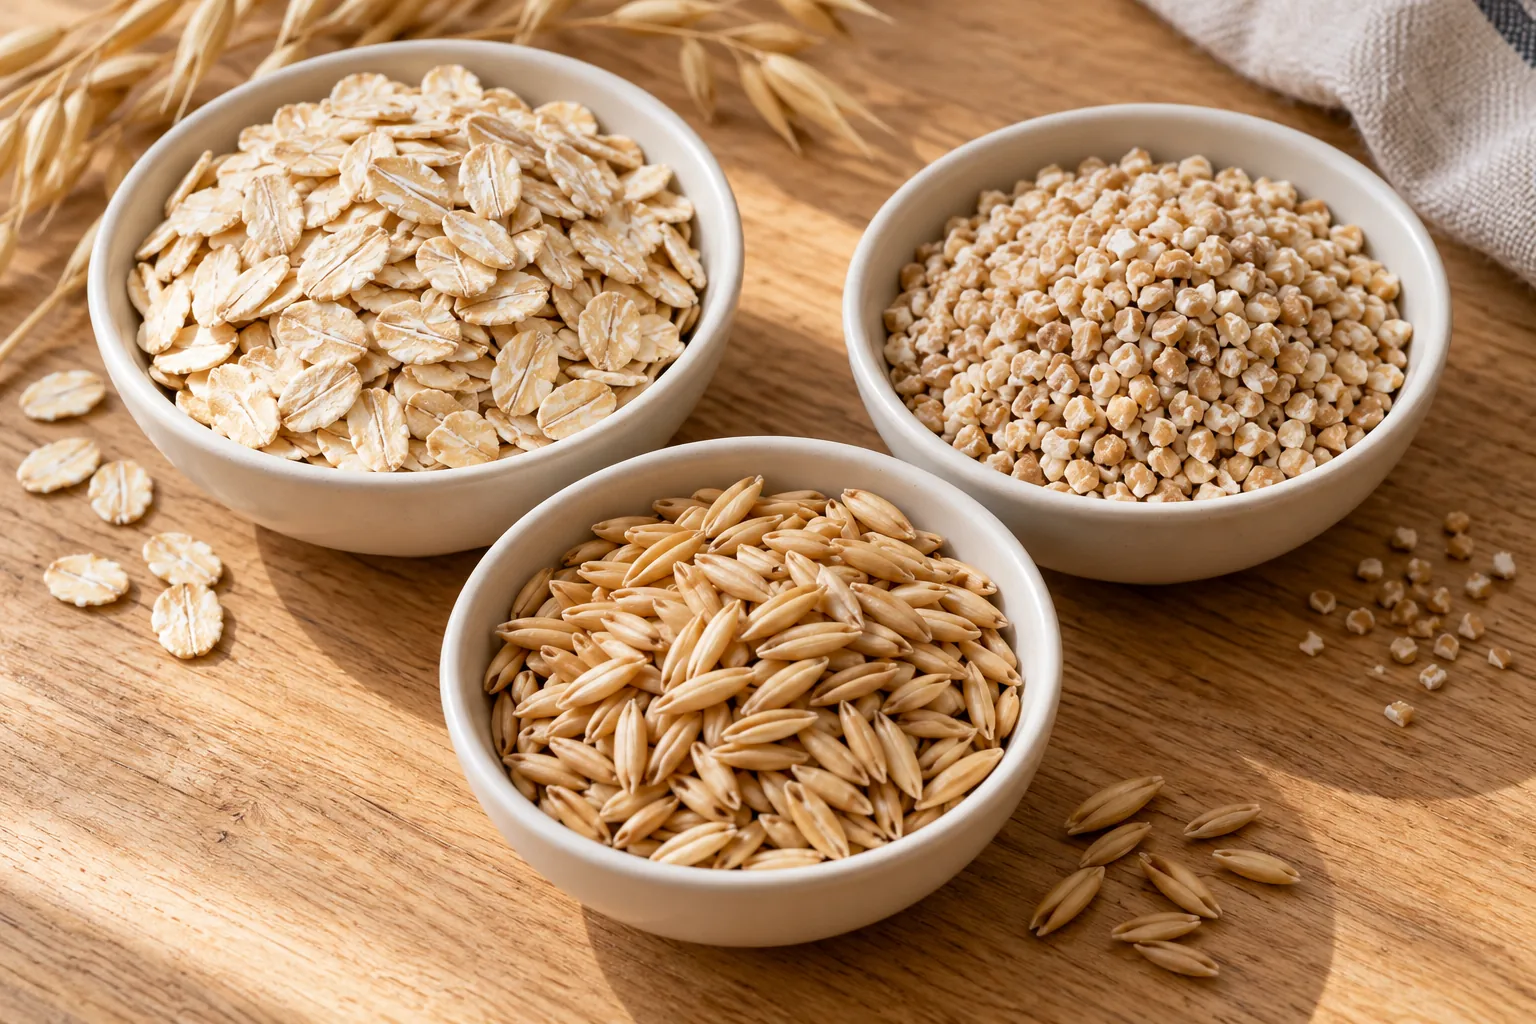
Oats can arrive in several forms. Rolled oats are flattened flakes. Steel-cut oats are smaller pieces of the groat rather than flakes. Whole oat groats retain the grain’s larger shape. Quick-cooking and instant products have their own processing and directions. Check both the product name and the preparation panel; appearance alone is not always enough to identify a ready-to-cook mix.
The Whole Grains Council’s guide to oat types describes these forms. The useful kitchen consequence is that changing the form can change the method. A recipe written for thin flakes may give you firm centres if used for larger oat pieces, even when the liquid around them looks thick.
| Oat form | What you can notice | What to verify |
|---|---|---|
| Rolled oats | Flattened flakes | The pack’s liquid quantity and cooking method |
| Quick or instant oats | Products intended for quicker preparation | Whether to simmer, microwave or add hot liquid |
| Steel-cut oats | Small cut pieces | Directions for that exact cut and processing |
| Whole oat groats | Larger intact kernels | Cooking and any soaking instructions |
| Oat-based mixed porridge | Oats plus other ingredients | The blend’s method and separate additions |
For an example of why timing cannot be universal, Quaker’s preparation guide lists about five minutes on the stove for its Old Fashioned oats, while its traditional steel-cut product lists 25–30 minutes. Those examples describe those products, not a promised cooking time for MAIBAHE.
How to cook oatmeal in 7 easy steps
1. Choose the method your package supports
Start by reading the cooking panel all the way through. Notice the liquid quantity, serving basis and whether the directions use a saucepan, microwave or appliance. If there are separately packed grains or toppings, keep them separate until the instructions tell you otherwise. A little attention here prevents trying to solve a problem caused by the wrong starting method.
2. Measure the oats and liquid consistently
Use a kitchen scale or the measuring unit specified on the label. A dry serving weight is not the weight of a finished bowl. Keep your liquid measurement consistent, too, particularly when repeating a batch that you enjoyed. Choose a modest first portion so that you can observe the cooking behaviour without handling an overfilled pan.
3. Pick a pan with room to stir
A substantial saucepan base can help you manage the heat. Leave room above the starting liquid for bubbling, and keep a heatproof spoon nearby. For microwave preparation, use a microwave-safe container and the capacity recommended by your product directions. A cereal bowl that barely holds the uncooked ingredients is a poor choice for a mixture that may bubble up.
4. Heat according to the product directions
Some methods start with hot liquid; others combine oats and cold liquid before heating. Follow the method for your product rather than combining steps from several recipes. Stay close as the mixture heats, reduce the heat when required and watch the edges of the pan. If using milk or a milk alternative, pay attention to the product’s suitability for heating.
5. Stir as directed and check tenderness
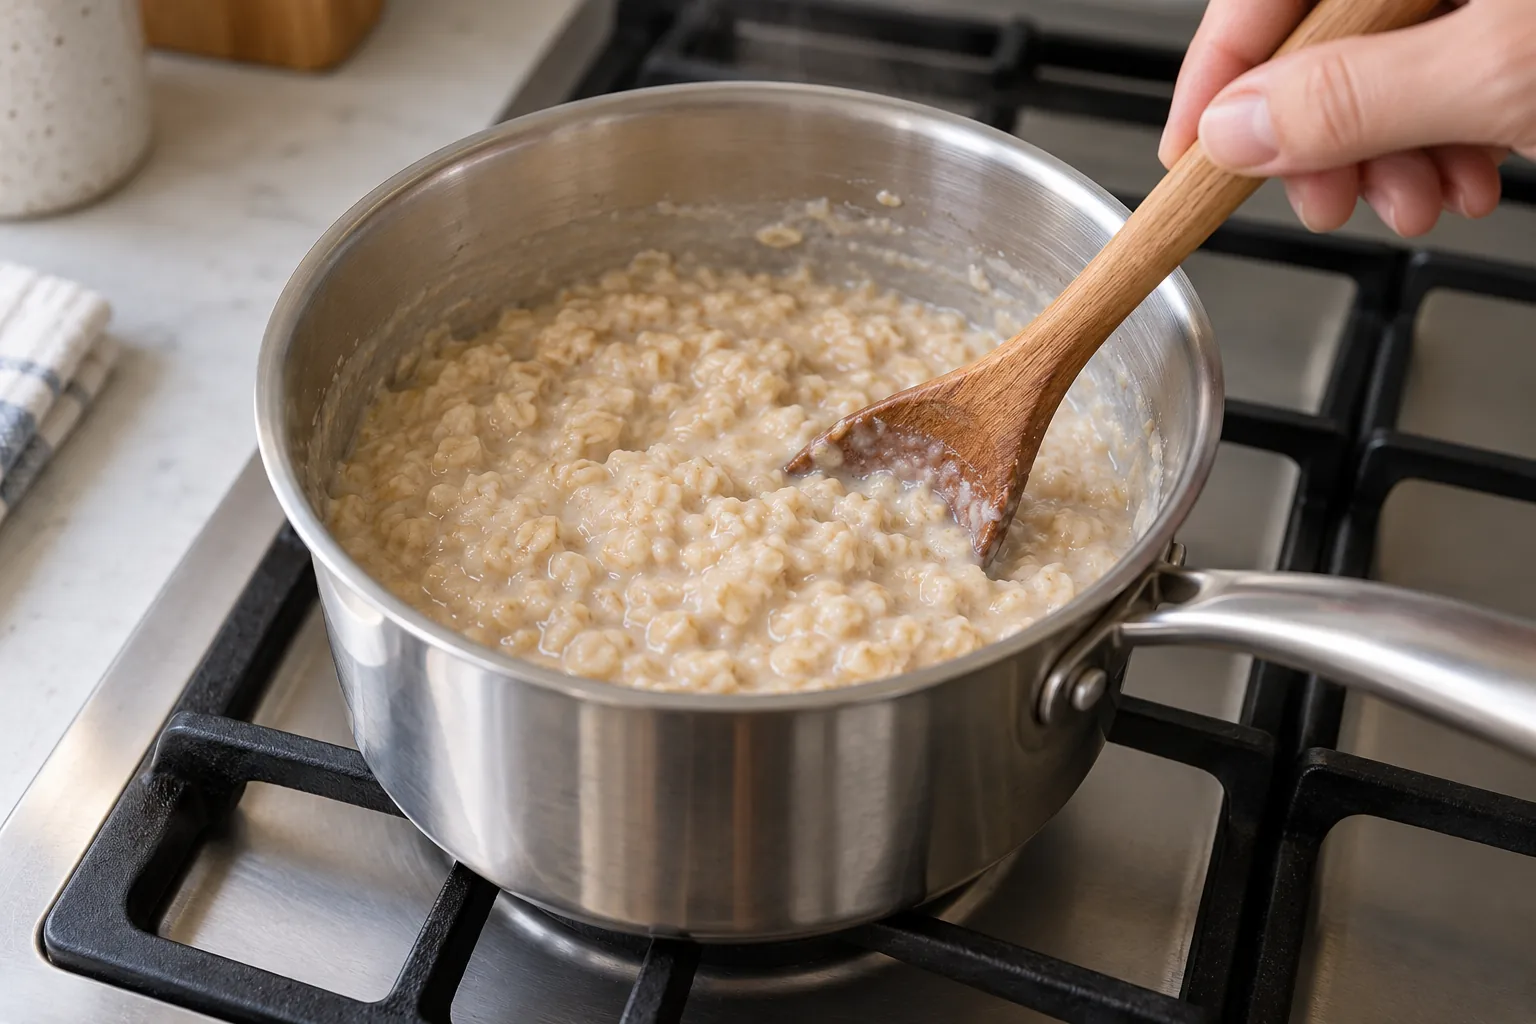
Use the label’s stirring instructions, especially as the mixture thickens. Check a small cooled spoonful near the end of the stated cooking period. Decide whether the pieces have the tenderness you want. Do not use surface thickness as the only sign of readiness: the outside of a grain and the liquid can soften before a firm centre has cooked through.
6. Adjust consistency in small amounts
Once the oats are cooked, adjust the final bowl with a little suitable hot liquid if you prefer it looser. If it is too fluid, continue gentle cooking only as appropriate for the product, watching for sticking. Make one small adjustment, stir and check again. This is the most useful habit when learning how to cook oatmeal to your own preference.
7. Add the finish when you serve
Toppings let one base work for several people. Keep crisp fruit, toasted seeds and sauces separate until serving if you want their textures to remain distinct. Check the labels of every addition. If your bowl includes eggs, meat or another ingredient that needs cooking, prepare that addition safely; the warmth of the oatmeal does not establish its readiness.
How much liquid should you use for oatmeal?
Use the package’s starting quantity. A fixed ratio repeated across all oat products would overlook differences in form, processing and ingredients. It would also overlook your pan and appliance. For a blend with several grains, the oats are only part of the cooking problem. Our multigrain porridge guide explains how to read a mixed ingredient list before deciding on the method.
The finished consistency is a separate decision from the initial quantity. You may prefer a flowing bowl with fruit, a creamy bowl that holds a spoonful of topping, or a thicker base with a savoury finish. Taste for tenderness first and change the liquid second. Remember that a bowl may become thicker while you prepare toppings or set the table.
Troubleshooting a bowl that is too thick, thin or firm
| Problem | Check first | Practical response |
|---|---|---|
| Thick mixture, firm oat pieces | Oat form and liquid loss | Add suitable hot liquid gradually and continue the supported method |
| Cooked oats, more liquid than you want | The product’s intended consistency | Allow an appropriate brief finish; avoid a forceful boil |
| Mixture sticks to the pan | Heat, stirring and pan base | Reduce heat and follow stirring directions |
| Microwave overflow | Container size and instructions | Use the recommended container and settings next time |
| Bowl thickens before eating | Standing time | Stir in a little warm liquid before serving |
Make your next batch easier by keeping a short kitchen note: product, dry quantity, liquid, pan, method and preferred finish. Change one variable at a time rather than adding liquid and increasing heat together. A repeatable household preference is useful, but it should not be described as a controlled comparison unless you actually measured the relevant conditions.
Simple sweet and savoury oatmeal finishes
For a fruit bowl, use banana, pear or another fruit you enjoy and a small amount of your preferred spice. For a savoury bowl, consider separately cooked mushrooms and chopped scallions. Start with a light finish so the grain flavour remains noticeable, then add more if you want it. These are serving suggestions, not mandatory ingredients in the oats themselves.
Toppings affect the whole meal’s ingredients. Nuts, sesame, dairy and sauces may introduce allergens or ingredients that do not fit a particular diet. Do not assume that an oat-based bowl is suitable simply because of its grain name. Use the actual product labels and follow any dietary guidance relevant to you.
Read oatmeal versus multigrain porridge if you want to compare meal formats. Browse MAIBAHE serving ideas for another finish, or explore the pantry selection and check the actual ingredients before choosing a pouch.
Store cooked oatmeal and reheat only what you need
USDA leftover guidance calls for prompt refrigeration within two hours, or one hour above 90°F, shallow containers, three to four days refrigerated storage, and reheating to 165°F. Those are general leftover guidelines rather than a shelf-life statement for any unopened product.
Store portions separately when practical. During reheating, add liquid only as needed to restore consistency, and distribute the heat by stirring appropriately. Keep toppings separate if that suits their own storage requirements. Follow any more specific instructions for the ingredients you used.
Questions about how to cook oatmeal
Can I swap rolled oats for steel-cut oats?
Not without adjusting the method. Check the directions for the oat form you are actually using. The size and processing differ, so a rolled-oat method should not be assumed to finish steel-cut pieces correctly.
Should oatmeal be cooked in water or milk?
Use the liquid options supported by your package and recipe. Check the suitability and ingredients of milk alternatives, and watch the heat when using them. The final choice can reflect your preferred flavour and dietary needs.
Do I need to rinse a prepared oat blend?
Follow the blend’s directions. Washing a seasoned mix could remove ingredients that are intended to stay in the bowl. Do not apply loose-grain preparation automatically to a ready-to-cook pouch.
Can I cook oatmeal in a rice cooker?
Use only a grain and method supported by your model’s manual. Verify the porridge capacity, liquid instructions and programme. Ordinary rice capacity should not be assumed to be the safe capacity for every oat mixture.
Why does my oatmeal keep thickening?
The consistency can change while it stands. Check tenderness, then stir in a small amount of suitable warm liquid before serving. Avoid adding a large amount all at once.
Where can I find directions for my MAIBAHE product?
Read the current package and use the contact page if a detail is unclear. Include the product name and label information so that the question addresses the exact product.
Your next comforting bowl
Learning how to cook oatmeal is easier when you start with the oat form and finish with your own texture preference. Use the label, control the heat and make small changes. Visit the MAIBAHE Grain Journal for related guides, and review shipping and returns before a pantry order.